How to Achieve a Gorgeous Blowout at Home
This blog post may contain affiliate links. I may earn a small commission for any purchases made through these links. Click here for the disclosure statement.
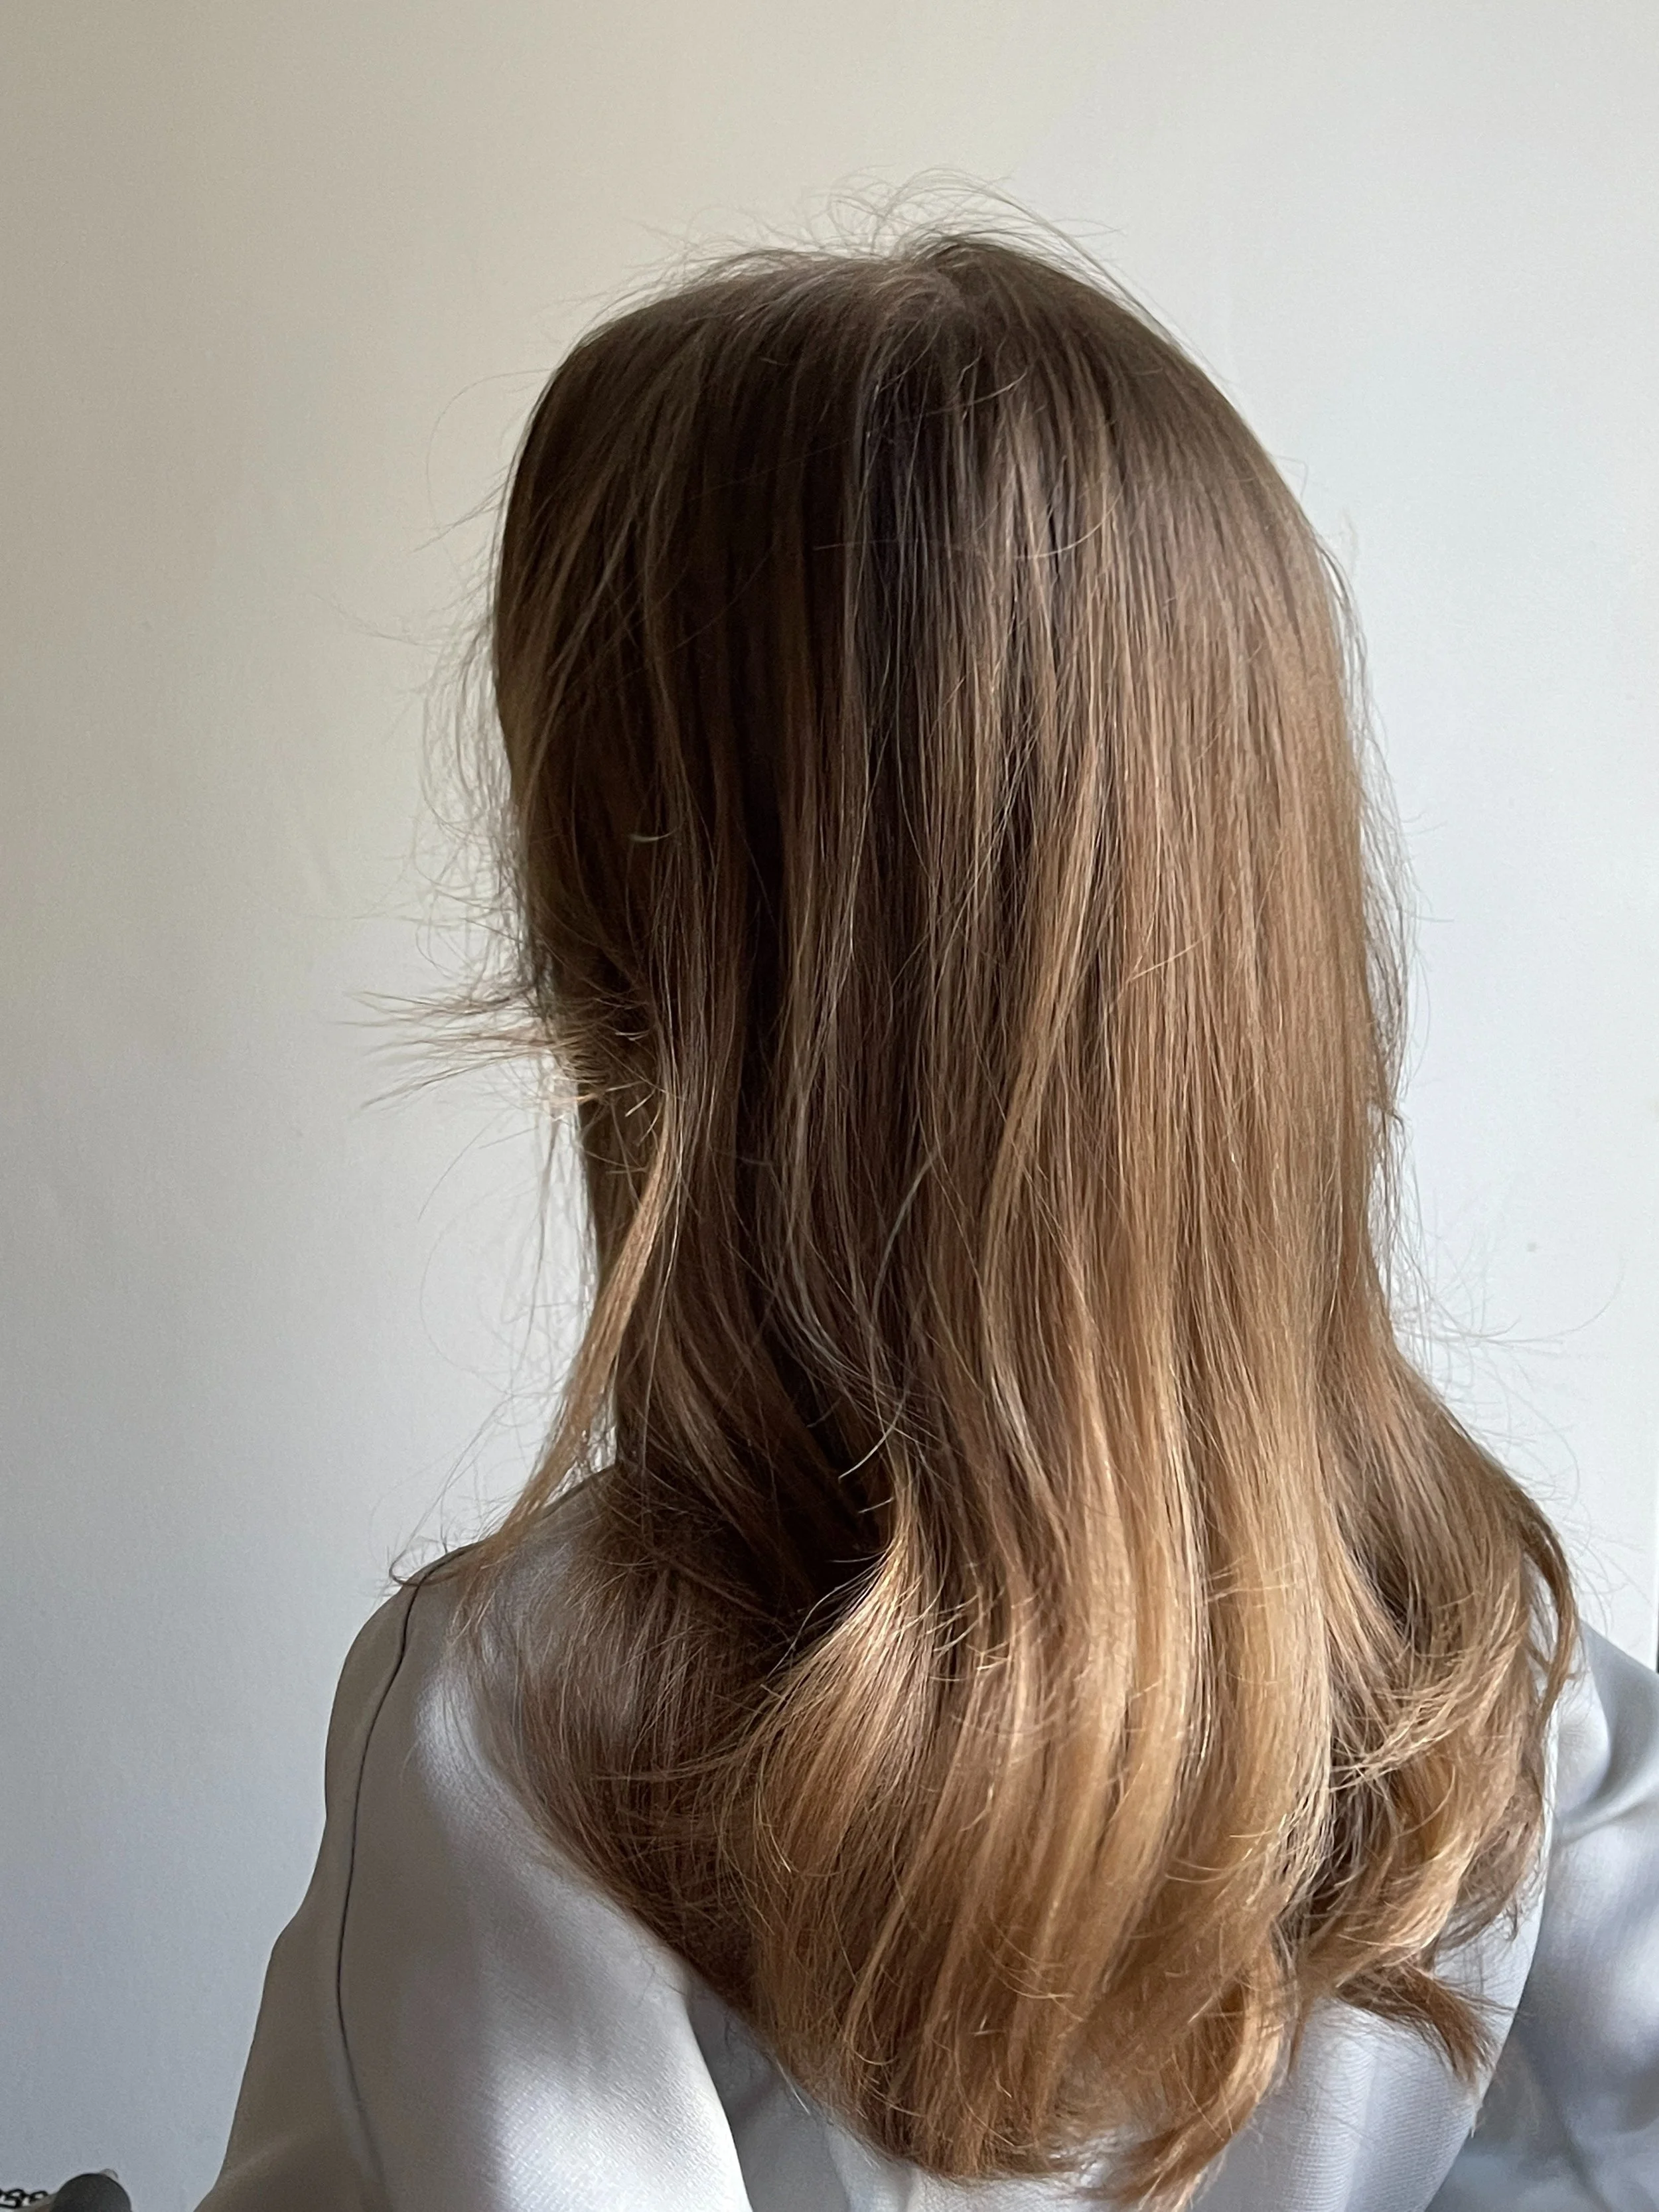
Getting the perfect blowout can seem like a daunting task, but with the right tools, products, and techniques, you can achieve a salon-quality blowout chez toi. I’ve struggled with taming my curly, thick hair for years, but I’ve finally discovered a haircare routine that leaves me with the voluminous, bouncy hair of my dreams. Ready to never have a bad hair day? Continue reading for all of my tips, tricks and tools for creating a gorgeous blowout at home.
How to Achieve a Gorgeous Blowout at Home
1. Prep Properly
A successful at-home blowout starts with proper preparation. Before you even reach for your hairdryer, choose a shampoo and conditioner that suit your hair type. For a blowout, you want hair that's clean, but not stripped of its natural oils. Consider a volumizing shampoo and conditioner to add lift and body from the get-go. For those with thicker, wavy hair like mine, I’d highly recommend the Redken All Soft Shampoo and Conditioner. This product lives up to its promise of making hair incredibly soft, which is ideal for smoothing my strands before blow-drying.
After washing, gently squeeze out excess water with a towel. Avoid rough rubbing, which can damage hair and lead to frizz. Pat your hair dry until it's damp but not dripping.
To further expedite drying time and reduce frizz, consider using a microfiber towel wrap. Microfiber towels are gentler on hair compared to traditional towels, as they effectively absorb moisture.

Redken
Bumble and Bumble

Crown Affair2. Choose the Right Tools
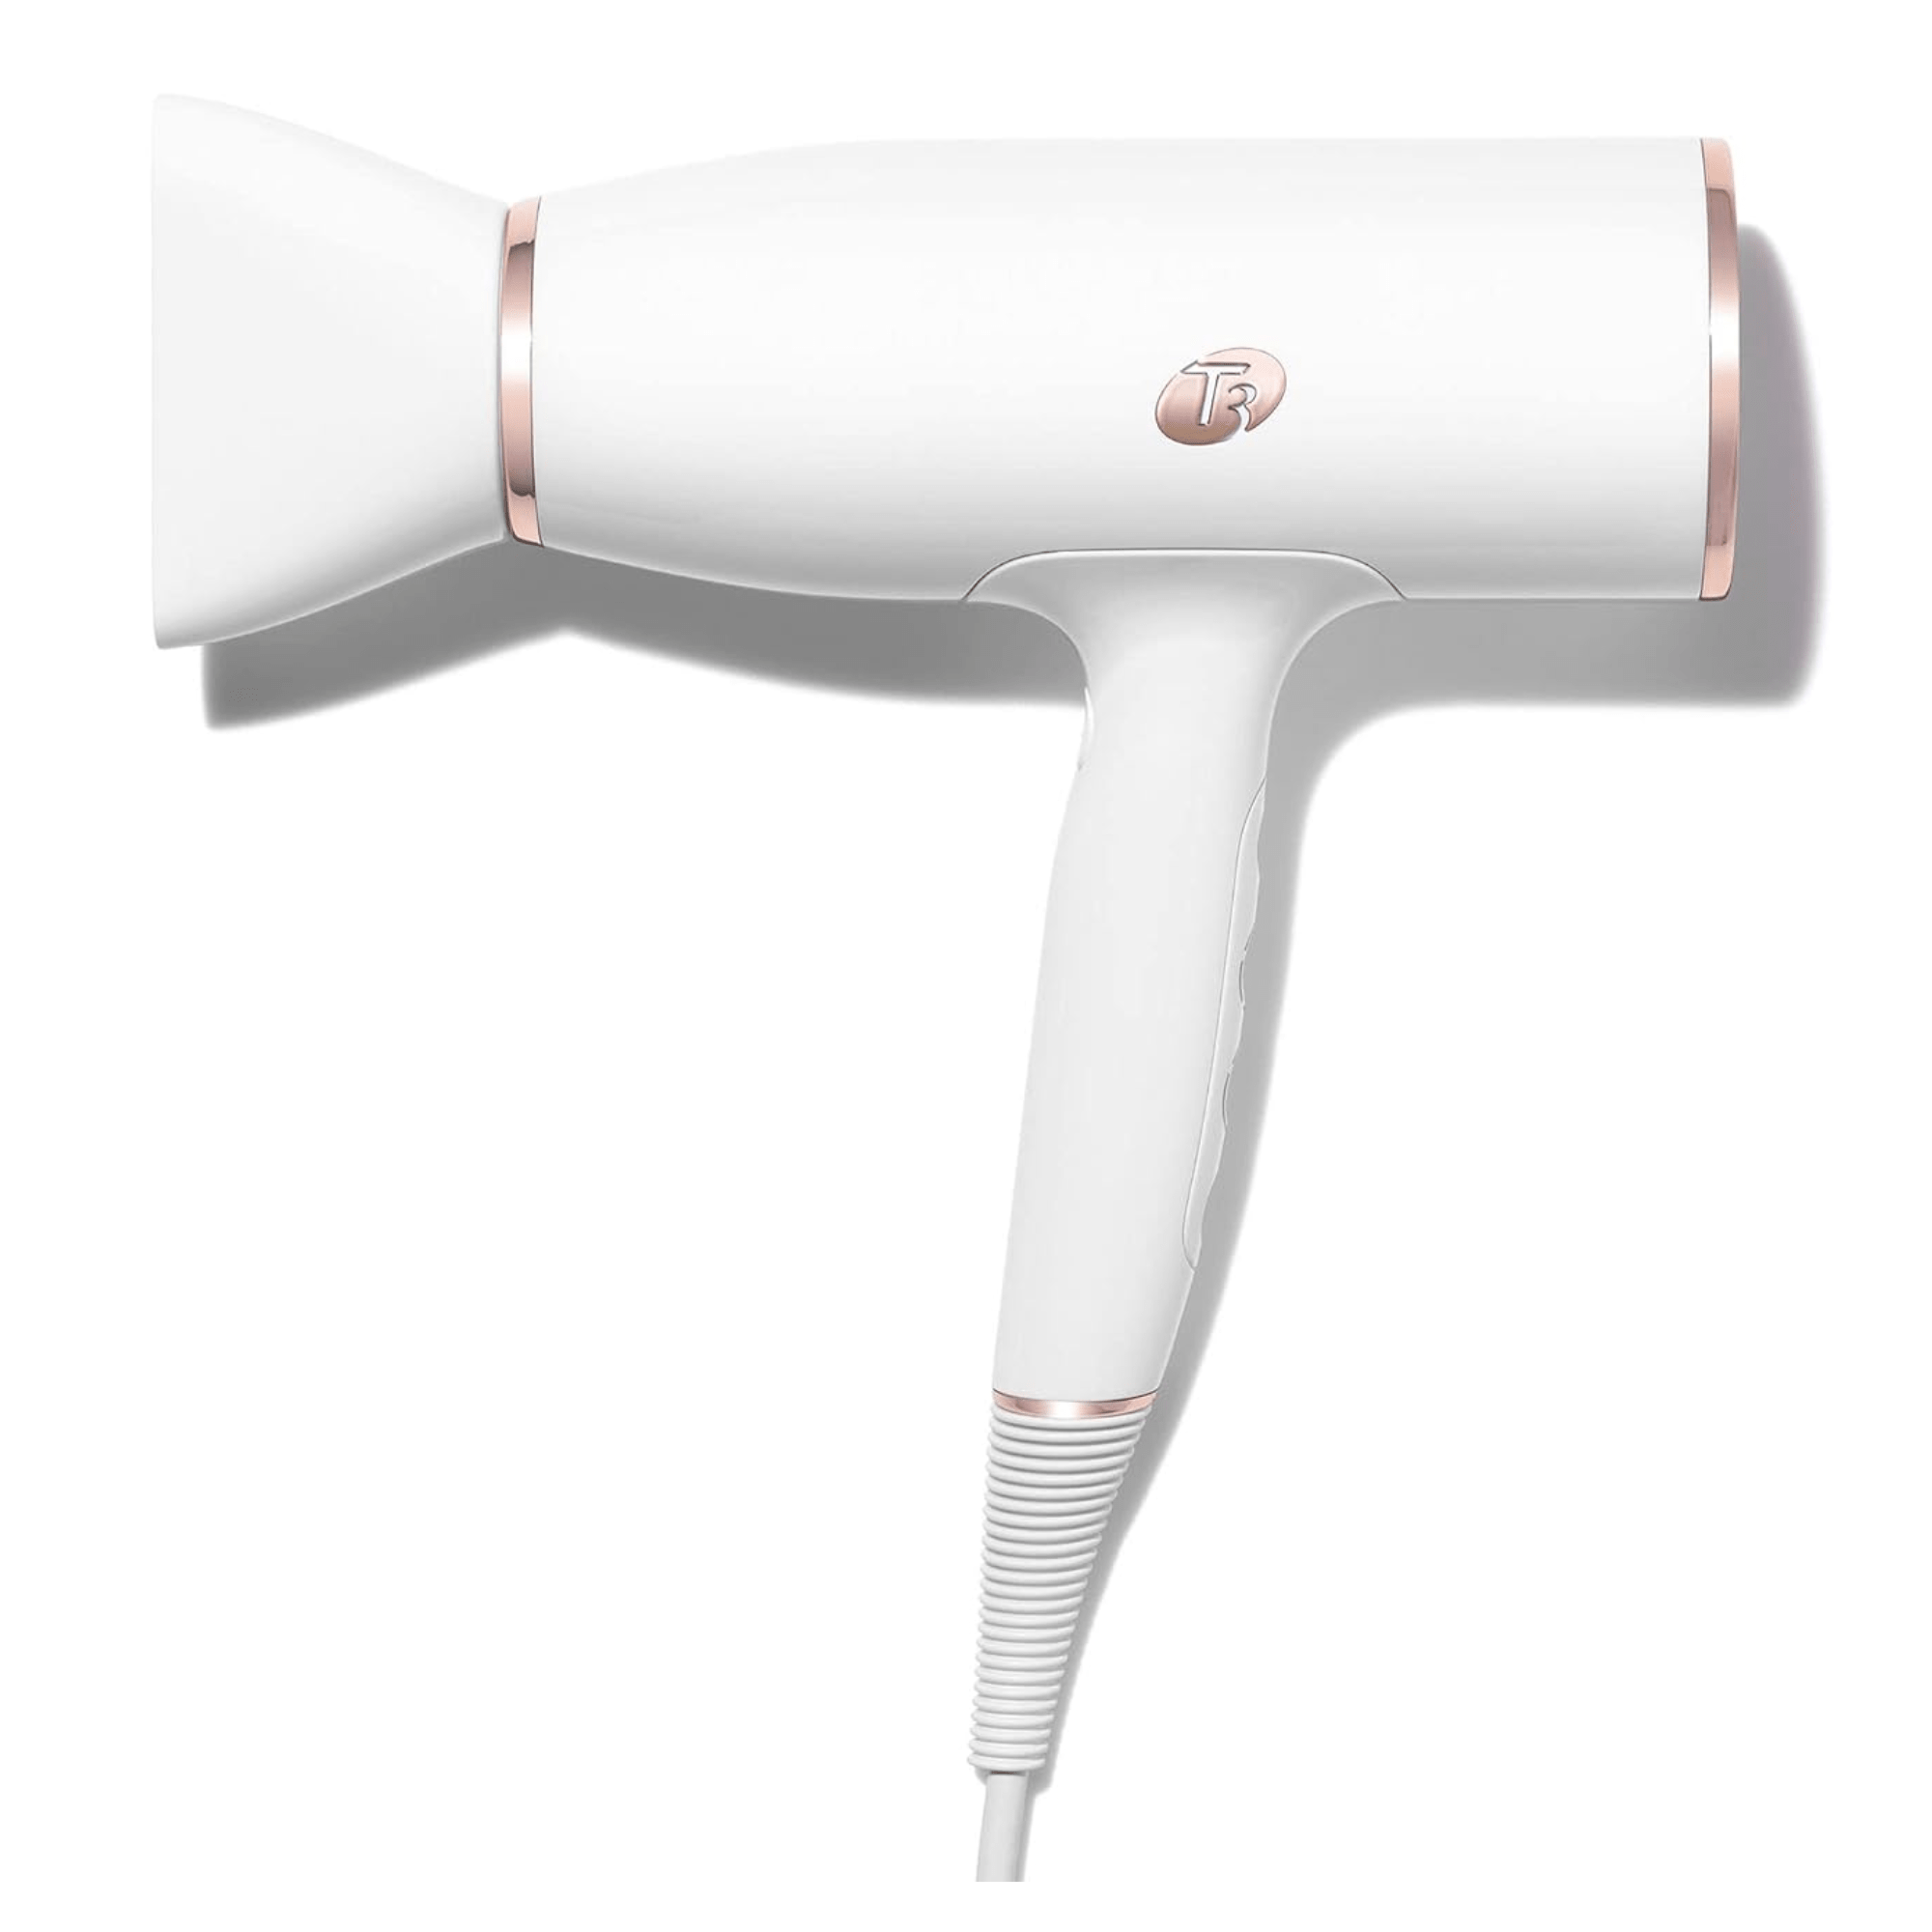
The second step in achieving a beautiful blowout is to have the right tools. Despite the social media hype, you don’t need to invest in an expensive hair tool like the Dyson Airwrap to style your locks.
For this tutorial, all you’ll need is a hairdryer with a concentrator nozzle and a round brush. The concentrator nozzle will help to direct the airflow and the round brush will create volume and shape.
Investing in a high-quality hairdryer can make all the difference when it comes to achieving a perfect blowout. Look for a hairdryer with multiple heat and speed settings, as well as a cool shot button. A good hairdryer doesn’t mean you have to spend hundreds of dollars; my drugstore dryer has worked for me for years. I use a $30 hair dryer from Babyliss that I bought in France.
For professional hair brushes, I always buy from Olivia Garden. Almost every hair stylist I’ve seen uses these brushes and for good reasons. They don’t snag my hair and significantly reduce drying time. This thermal round brush is what I’m currently using. The size of your round brush should be proportional to your hair length. If you have long hair, you'll need a larger brush, while a smaller brush is better for short hair.


Olivia Garden
Olivia Garden3. Pick Your Products
Using the right products is crucial to achieving a perfect blowout. If you have fine hair, opt for a lightweight volumizing mousse or spray to add and maintain volume.
Always apply a heat protectant spray to shield your hair from heat damage caused by blow-drying. Look for one that also offers benefits like frizz control and added shine. My go-to heat protectants are the Color Wow Dream Coat Supernatural Spray and the Redken One United All-In-One Leave In Conditioner. Both of these work wonders at protecting my hair while detangling my often unruly mane.
For extra softness and shine, consider adding an oil to your hair. When I feel like my hair needs some extra nourishment after my blowout, I like to add a few pumps of the Davines OI Oil. I’ve been using this product for years, and I can’t recommend this brand enough!
Lastly, finish with a hairspray or styling cream to hold your style in place. I lock in everything using the blowpro Blow Out Hair Spray.


Davines

COLOR WOW4. Master the Blowout Technique
Now that you're prepped and equipped, let's dive into the actual at-home blowout process! For visual learners, check out my favorite blowout tutorial on YouTube.
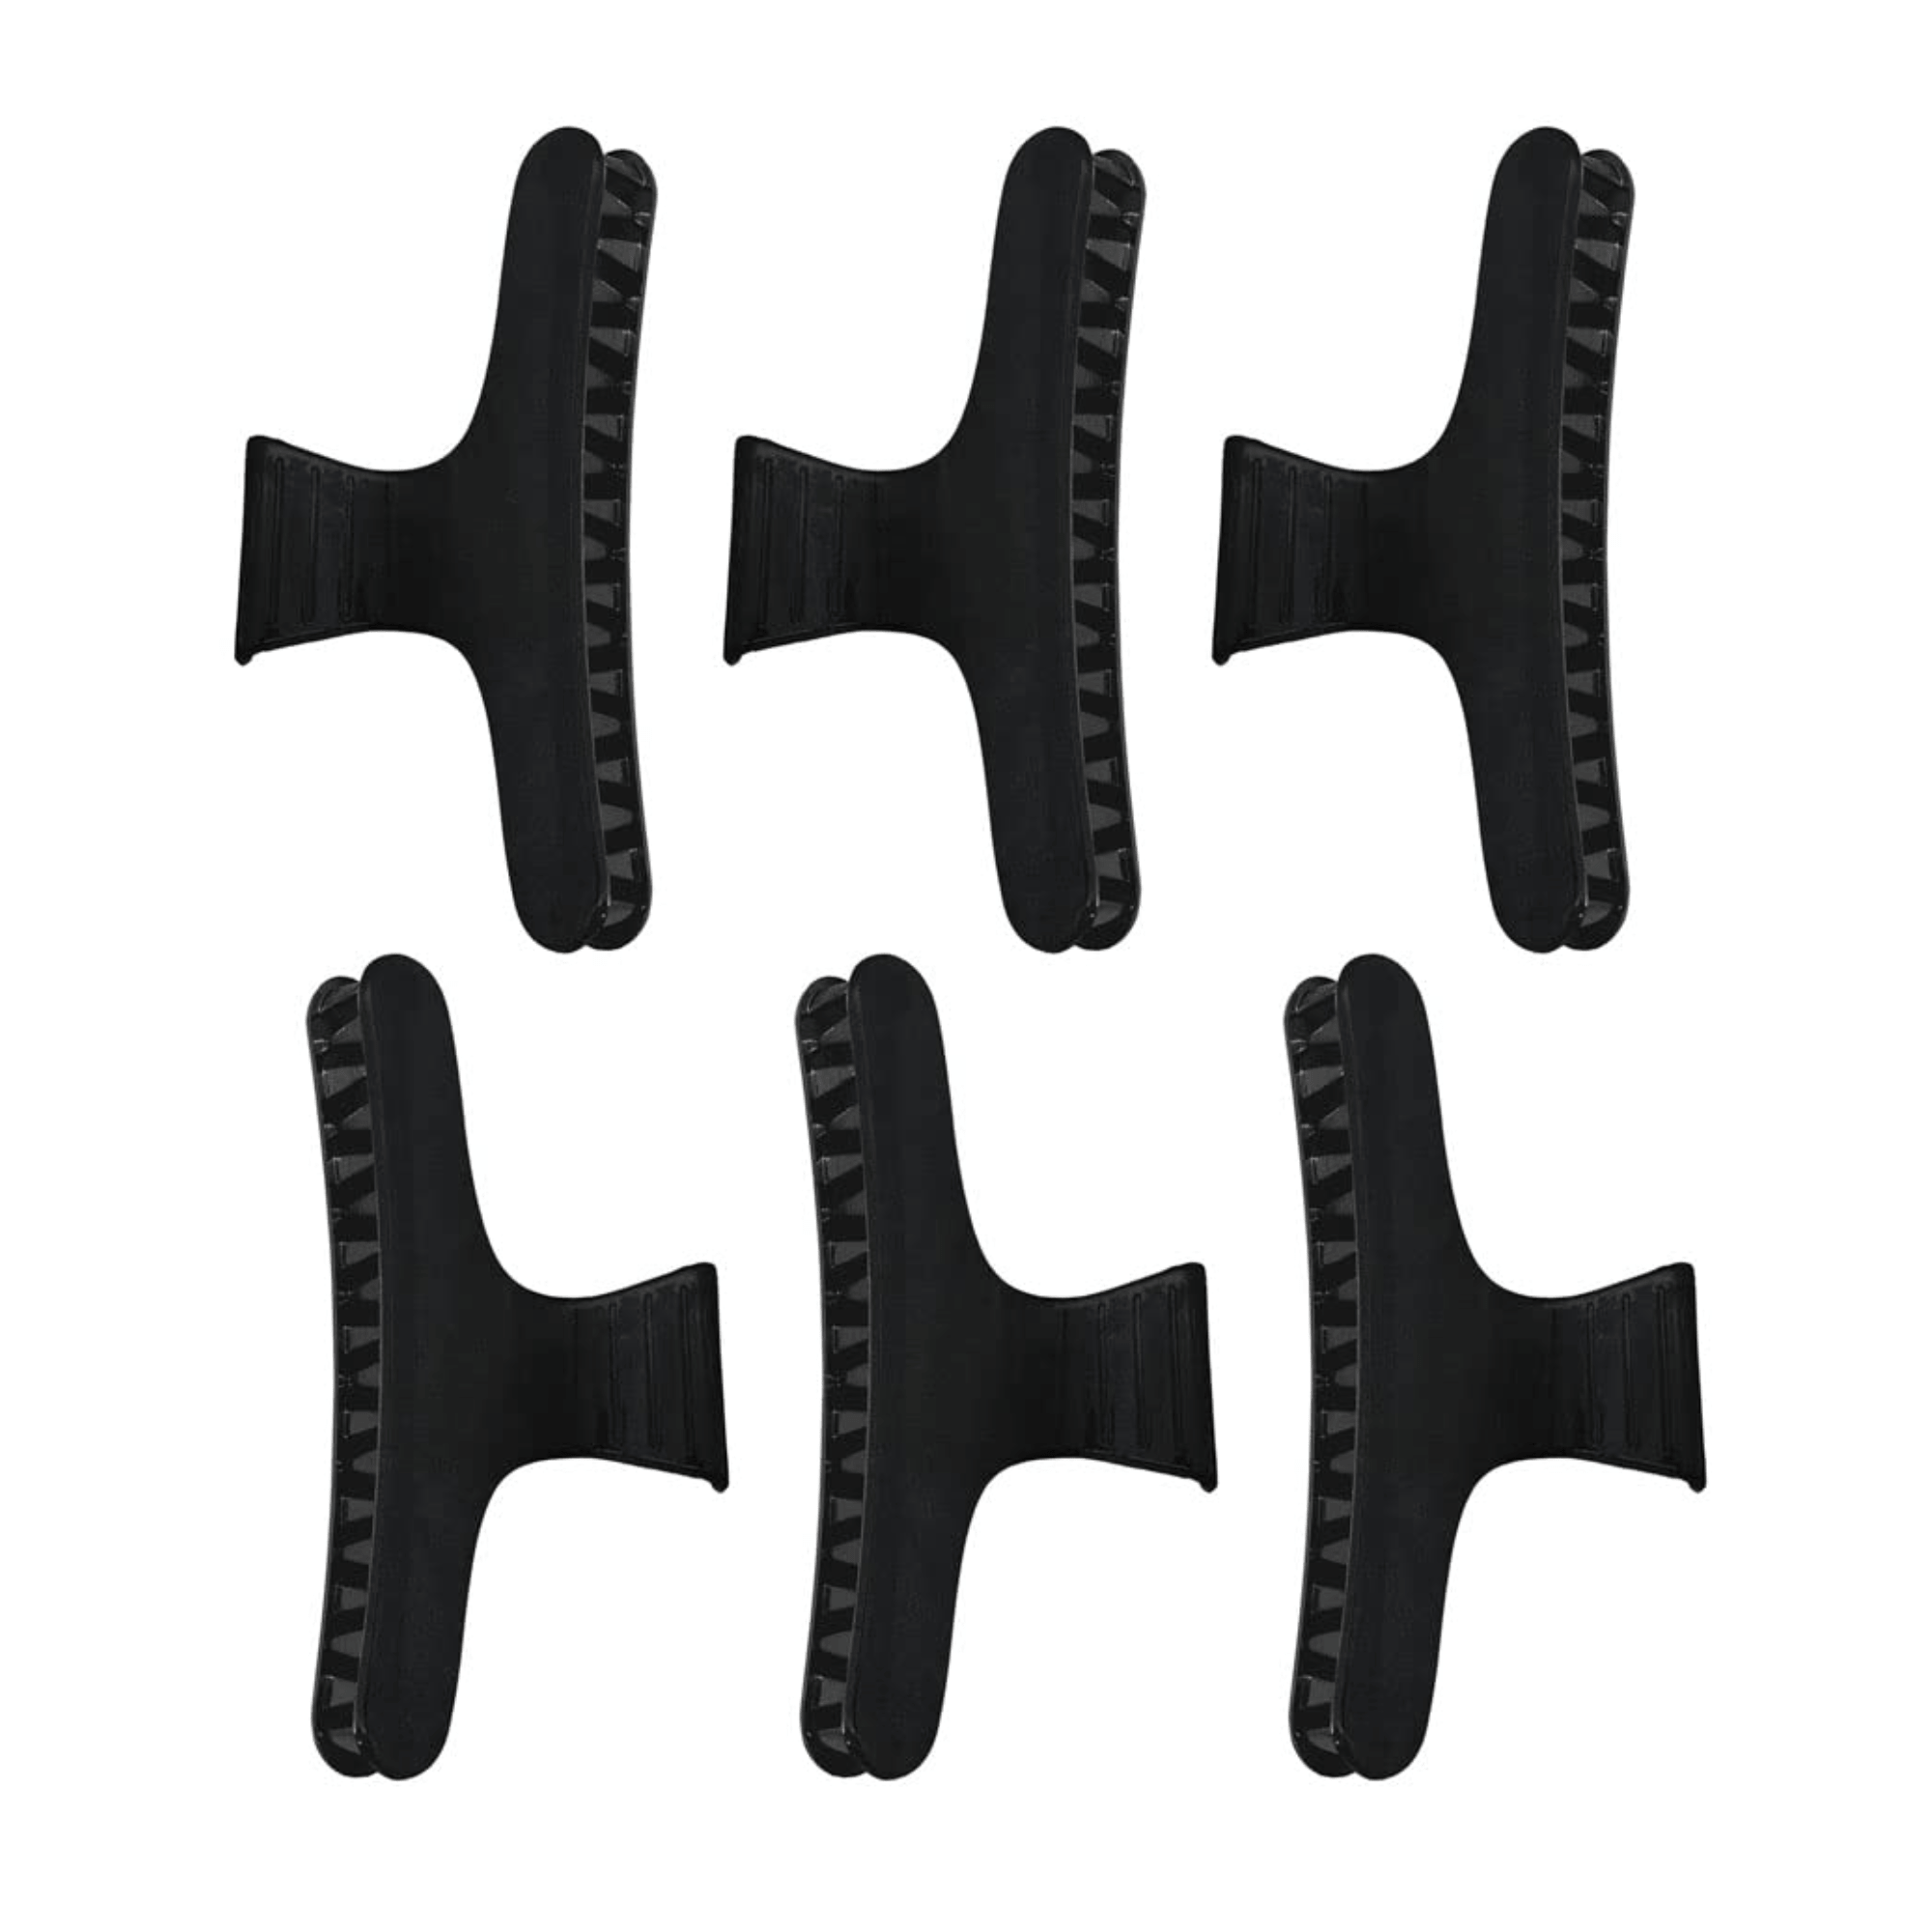
Section your hair. Sectioning your hair into manageable parts is key. Use clips to separate your hair into sections, making the blow-drying process more efficient and allowing you to focus on each section individually.
Rough dry. With your detangling brush and hairdryer on low heat, start by rough drying your hair until it's about 80% dry. This removes excess moisture and prepares your hair for further styling.
Blow dry with your brush. Here's where the magic happens! Take a section of hair and place your round brush at the roots. While pointing the hairdryer nozzle downwards, gently pull the brush through the hair section as you blow-dry. This technique will smooth the hair cuticle and create volume. Use a combination of medium and high heat settings for efficient drying, but always finish with a cool shot to lock in the style and add shine.
Repeat and refine. Repeat step 3 for each section of hair, working your way around your head. Take your time and work through each section of hair. Since I have a lot of hair, my blowout routine takes me at least 30 minutes. I often put in my Airpods and listen to a podcast while I’m styling my hair so that I don’t rush the process.
Finishing touches. Once your hair is completely dry, use the cool shot button again to set the style. For added volume, you can flip your head upside down and blast your roots with cool air for a few seconds. Finish with a hairspray or styling cream to hold the style in place. If you have flyaways, a small amount of hairspray applied to a toothbrush and gently brushed over the flyaways can tame them without creating a stiff look.
How to Maintain Your Blowout
The key to a long-lasting at-home blowout is proper care and styling techniques. First things first, always let your hair cool down completely before styling it further. This helps the style set and reduces frizz, especially if you plan to use hair rollers.
Sleeping on a satin or silk pillowcase is a must to minimize friction and keep your blowout looking smooth for longer. I’ve been using the Sleep & Glow Aula Pillow for a few years and absolutely love it. It’s a bit of an investment, but it prevents me from sleeping on my side and comes with a silk pillowcase. Sometimes I double up by wearing a satin bonnet or tying my hair into a loose bun with a silk scrunchie.
Dry shampoo is your best friend between washes. It absorbs excess oil and refreshes your roots, extending the life of your blowout. Recently, I've been using the Amika Perk Up Talc-Free Dry Shampoo to refresh my hair on day 2 or 3. It smells amazing and doesn’t leave my hair feeling too dry. I’m also a longtime fan of Batiste Dry Shampoo, which is more easily available here in France.
Don't be afraid to touch up your blowout as needed. A quick blast of cool air from your hairdryer can revive the style and smooth out any flyaways.

SLEEP & GLOW
Edoneery
KitschAchieving your dream blowout at home doesn't have to be difficult. By following the steps above and using the tips and tricks provided, you can create a professional-looking blowout without the weekly trip to the salon. Don't be discouraged if you don't get it right the first time - practice makes perfect! With a little patience and some experimentation, you'll soon be able to master the art of the blowout and have fabulous hair every day.
And don’t forget to take good care of your hair in between blowouts. This means using a gentle shampoo and conditioner, avoiding excessive heat styling, and using a deep conditioning treatment once a week to keep your hair healthy and hydrated.
Shop the Post
What are your best tips for achieving the perfect at-home blowout? Let me know in the comments below.