How French Women Always Have Elegant Nails
This blog post may contain affiliate links. I may earn a small commission for any purchases made through these links. Click here for the disclosure statement.
French women seem to make the simplest details look effortlessly chic, and their nails are no exception. Non to the bold and bright nails that are trendy over in the U.S., the French tend to keep their manicures short and simple. It’s less about making a major statement and more about looking perfectly polished and put together.
Since I moved to France almost 5 years ago, I’ve picked up on so much when it comes to French beauty. From French pharmacy-packed skincare routines to elegant no-makeup makeup, the French approach to beauty is about complementing your natural features—and the same can be said when it comes to French women’s nails.
In this French girl nail guide, you’ll find the biggest Parisian nail trends, must-have product recommendations, and even how to do your own DIY manicure chez vous.

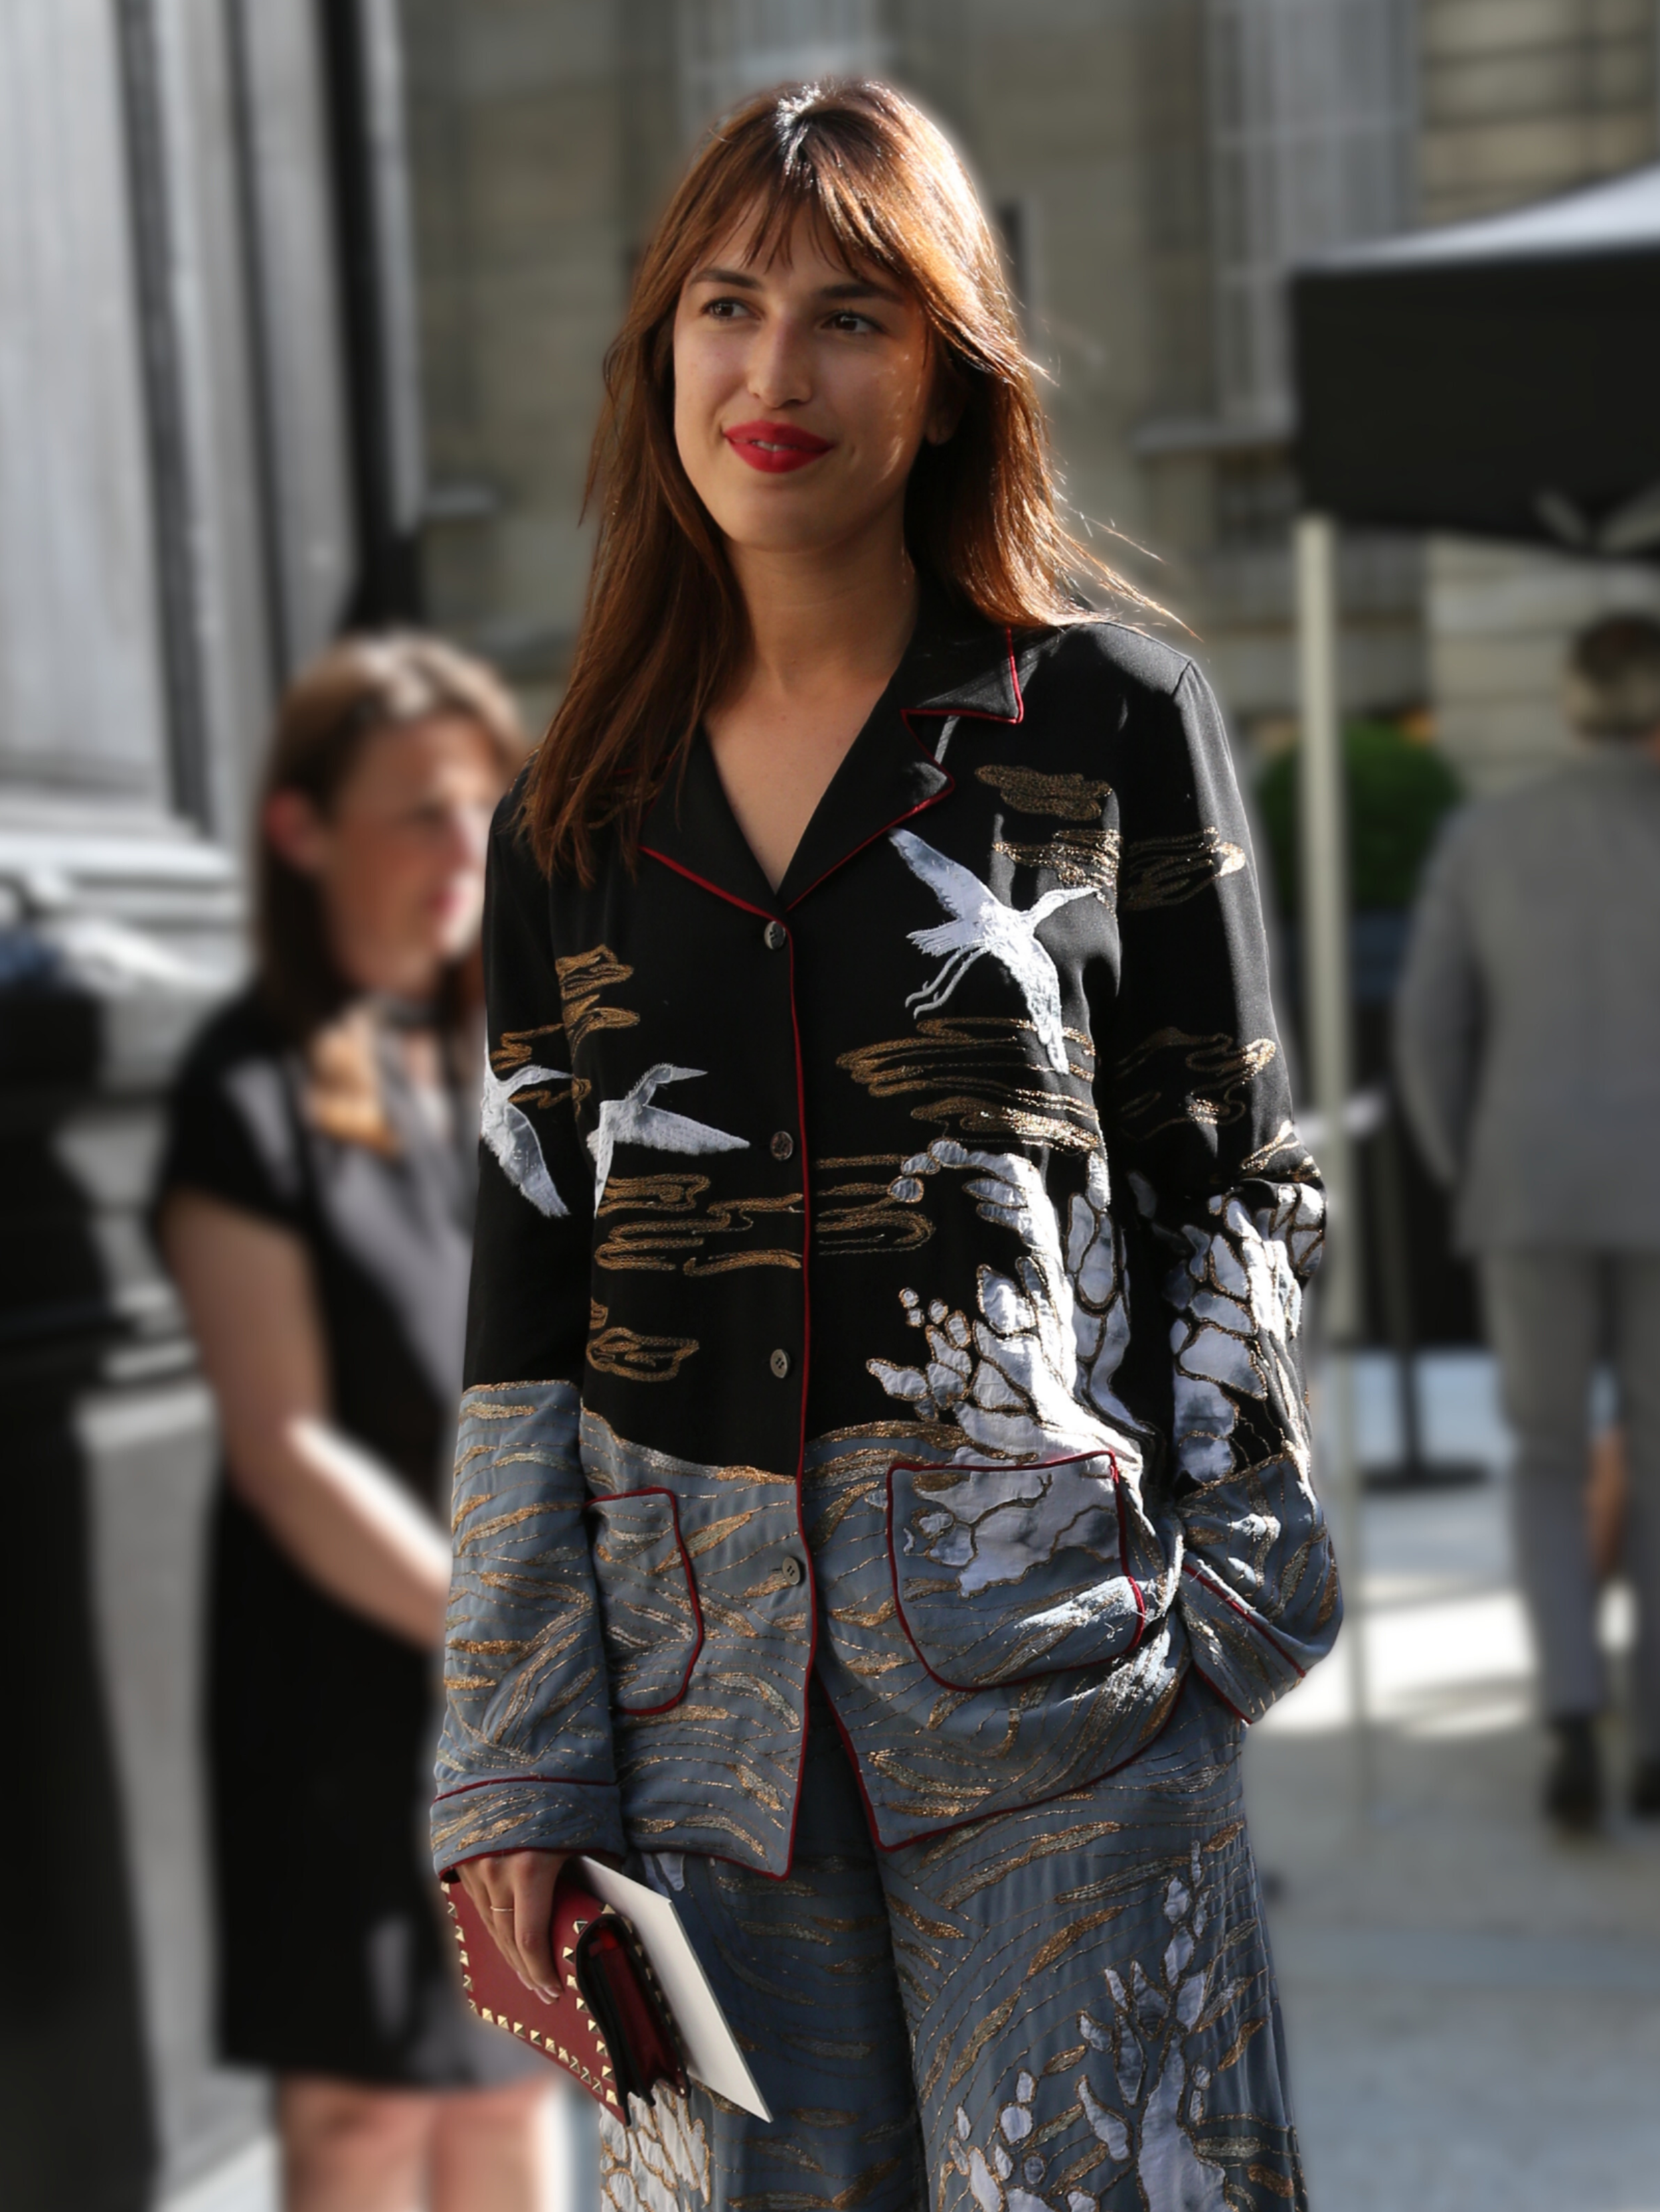
Photo: @matejanova
The French Approach to Nail Care
French women are typically minimalists when it comes to their nails. In general, you won’t see them with long acrylics or over-the-top nail art. They’re more likely to keep their nails short, clean, and well-maintained.
This isn’t too surprising given the natural approach to beauty in France. Even when it comes to hair, skin, and makeup, the French prefer enhancing what they’ve got instead of completely transforming their look.
Do French women paint their nails? Yes, but it’s usually subtle and self-applied. Basic nail care is essential, but applying color isn’t necessarily part of the average French woman’s beauty routine. More often than not it’s an occasional way to change up her look.
French women usually avoid press-on nails altogether—something I realized as a press-on wearer myself. When I visit beauty stores here in Strasbourg, the selection is very limited, and what’s available is much more expensive than in the U.S. I make sure to stock up on my favorite press-ons whenever I’m in the States, where there’s a wider variety of brands and styles (and almost always cheaper).
It’s safe to say that the French aren’t as fond of artificial nails as we Americans are! It’s hardly surprising though, given that fake nails go completely against their natural beauty philosophy.
Read More: The 20 Best French Makeup Brands in 2026
Nail Salons in France
While nail salons exist in France, they’re fewer and far between compared to the U.S. In my suburban hometown, there are nail salons everywhere. Stop by your nearest Walmart and you can even get a quick mani-pedi after a grocery run.
In France, nail salons are less common, more expensive, and pared down in services. Of course, major cities like Paris, Lyon, and even my city, Strasbourg, have more options, but they’re still surprisingly limited.
However, there are some perks to getting your nails done in France, especially as an American. For starters, it’s super easy to get an appointment. No long lines or booking months in advance. Sometimes I’ll even pop in sans rendez-vous for a quick pre-vacation pedi. Then, there’s the best part: no tipping! The price you see is exactly what you pay. With American tipping culture getting more outrageous, at the French salons, it’s completely stress-free.
Read More: A Day in the Life of an American in France
You’d think French women would indulge in some regular pampering at the nail salon—just like their hair appointments—but in reality, visiting the nail salon is more of a luxury, not a necessity. That’s why most French women prefer to take care of their nails at home, and when they do visit a salon, it’s usually for special occasions like weddings or holidays.
Based on my own experiences in France, I can understand why French women might not splurge on their nails. While a haircut here is quite affordable, makeup and cosmetics, including beauty services and nail polish, can get pretty pricey. Even drugstore beauty isn’t cheap (17 euros for an OPI nail polish?!). If you’re budgeting for your beauty routine, nails are probably one of the first things to go.
Although it’s fun to discuss French beauty trends, there are always exceptions to the rule! I know plenty of French women who get their nails done regularly. My friend Clémence is one example—she frequently goes in for manicures and is always sporting colorful nail art every time I see her. But it’s definitely not the norm here. While many American women I know are regulars at the nail salon, it’s just not as common in France.
Popular French Nail Trends
When it comes to nail colors and styles, simplicity reigns supreme. French women aren’t as adventurous as Americans with their nails. They tend to stick to classic shades like beige and pinks, and minimalist styles that never go out of style. Here are some of the most popular French nail trends to know for 2026!
1. French Manicure
The classic French manicure is still a favorite, and for good reason. It’s elegant, flattering, and gives nails a well-groomed look that French beauty is all about.
Although it’s never really gone out of style, this iconic mani has become popular in recent years with new variations—instead of the traditional white tip, we’ve seen a soft pastel, shimmery metallic or bold neon. Whether you prefer to keep it classic or try out the trends, a French manicure is one that we all adore.

$23.98

Kiko Milano$4.50

NAILS.INC$16
2. Classic Red
While bold, bright hues aren’t typically seen on French nails, red stands out as the exception. Whether it’s a classic crimson, a deep ruby or a fiery rouge, French women know how to wear it with confidence. In fact, I’m convinced they knew about the red nail theory, long before it became a thing.
To copy this French nail trend, choose a hue that flatters your skin tone. If you have a cooler complexion, go for blue-leaning reds; warmer colorings should opt for orangey variations of red. Like the perfect red lipstick, the right shade will leave you glowing.

Manucurist Paris$19

Kure Bazaar$22

3. Barely-There Glow
Neutral shades like beige and taupe are staples in any French woman’s beauty cabinet. They’re easy to apply, low-maintenance, and look elegantly refined. Anything but basic, nude nails suit every skin tone while perfectly pairing with your outfit du jour.
To nail this French mani, look for a shade that matches your natural nail color as close as possible. This will really give you that "your nails but better" look, while subtly concealing conceal any visible nail growth.

Manucurist Paris$16

Manucurist Paris$49

$32
4. Ballet Pink
A sheer pink polish is a go-to for many Parisian women. Soft and feminine, it’s a subtle step up from your typical neutrals.
For those who want to try something new while still keeping their nail understated, ask your manicurist for a coat or two of blush pink polish. You can’t go wrong with the ever-popular Bubble Bath from OPI.

$11.99


Kure Bazaar$22
5. Bordeaux and Burgundy
Deep wine shades are a fall and winter favorite for French women. They’re just like your classic red, but a little bit richer and perfectly suited to the cooler months. And with these reddish-purple hues trending this season, now is the perfect time to open a bottle of bordeaux or burgundy (yes, still talking nails here).
Since dark polishes can get a bit messy, once it’s dried, use a Q-tip dipped in nail polish remover or this handy corrector pen to clean up the edges for a flawless finish to your vampy mani.

$9.99

Manucurist Paris$14

How to Do a Classic Manicure at Home
Getting perfectly polished nails at home is simpler than you might think. If you’re ready to try out the French nail trends, here is my classic manicure routine for flawless French girl nails at home.
What You'll Need
1. Remove Old Nail Polish
French women know the importance of prepping their nails. Start by soaking a cotton pad or lint-free wipe in your favorite nail polish remover. Gently wipe the pad across your nails to remove old nail polish as well as any oil and debris.
Make sure to use an acetone-free formula to prevent drying out your nails and cuticles. My go-to nail polish remover is the Green Flash Nail Polish Remover from Manucurist Paris. Although it’s more expensive than your average nail polish remover, it doesn’t leave my skin feeling dry.
2. Shape and Trim
Next, trim your nails to your desired length using nail clippers. Using a professional nail file, shape your nails by moving the file from one side of the nail to the center. Move the file in one direction; don’t seesaw the file by quickly dragging it back and forth.
One thing you'll notice about French women’s nails is that they keep the length short and the shape rounded. Avoid long nails or squared-off edges to keep your nails au naturel.
3. Take Care of Your Cuticles
Dip a Q-tip into cuticle remover and apply to your cuticles. Allow the solution to set for a few minutes to soften your cuticles, then gently push them back with a metal cuticle pusher. Take a cotton pad or wipe and remove any dead skin. Use the slightly smaller end of the cuticle pusher to clean up your nails if any extra skins remains. Soak a cotton pad or wipe in alcohol and wipe the pad across your nail to clean up.
4. Buff Your Nails
Once your cuticles are pushed back, grab a nail buffer and buff the surface of your nails. Buff underneath your nails to remove any rough edges. Take a nail brush and gently brush across your nails to remove any debris from buffing. You might also need to swipe each nail with nail polish remover again to remove any excess oil or residue.
5. Apply Base Coat
Apply a thin layer of your preferred base coat to each nail. This not only helps the polish adhere better but also ensures that your manicure lasts longer.
6. Apply Colored Polish
Apply a thin layer of your preferred colored polish to each nail, applying it in three strokes: one down the middle and one on each side. Allow the first coat to dry completely before applying a second coat for maximum opacity. Avoid using too much polish as this can cause rippling.
7. Finish with a Top Coat
Once your polish is dry, finish off your manicure with a layer of top coat. Similar to a base coat, a top coat will ensure that your manicure will last longer while also protecting the color of your nails and adding a subtle shine.
8. Clean Up
Use a small brush dipped in nail polish remover to clean up any polish that may have gotten on your skin or cuticles.
9. Treat Your Cuticles
Finally, apply your favorite cuticle oil to your cuticles and gently rub the oil on the skin around your nails. This will help nourish your cuticles and prevent dry nails. You can even apply some hand cream to moisturize your hands, turning your at-home manicure into a DIY spa session.
Read More: The Ultimate Guide to a French-Inspired Self-Care Night
Shop Manicure Must-Haves
Tips for a Long-Lasting Manicure
Avoid exposing your nails to excessive moisture for the first few hours after application. When in doubt, let your manicure dry a bit longer.
Be gentle with your hands and avoid activities that may cause your polish to chip. I would also recommend wearing gloves while washing dishes to maintain your manicure.
Keep basic nail tools in your purse for touch-ups. I always have a bottle of nail polish and a nail file on hand just in case I need to fix my manicure on the go.
French women take pride in all aspects of their appearance, including their manicures. Fortunately, getting their signature manicure doesn’t require an expensive trip to the salon. With a little polish and patience, you can master a chic French mani at home—no passport needed. And if you're like me, just grab some press-ons and keep it your little secret.
Which French nail trend is your favorite? Let me know in the comments below.